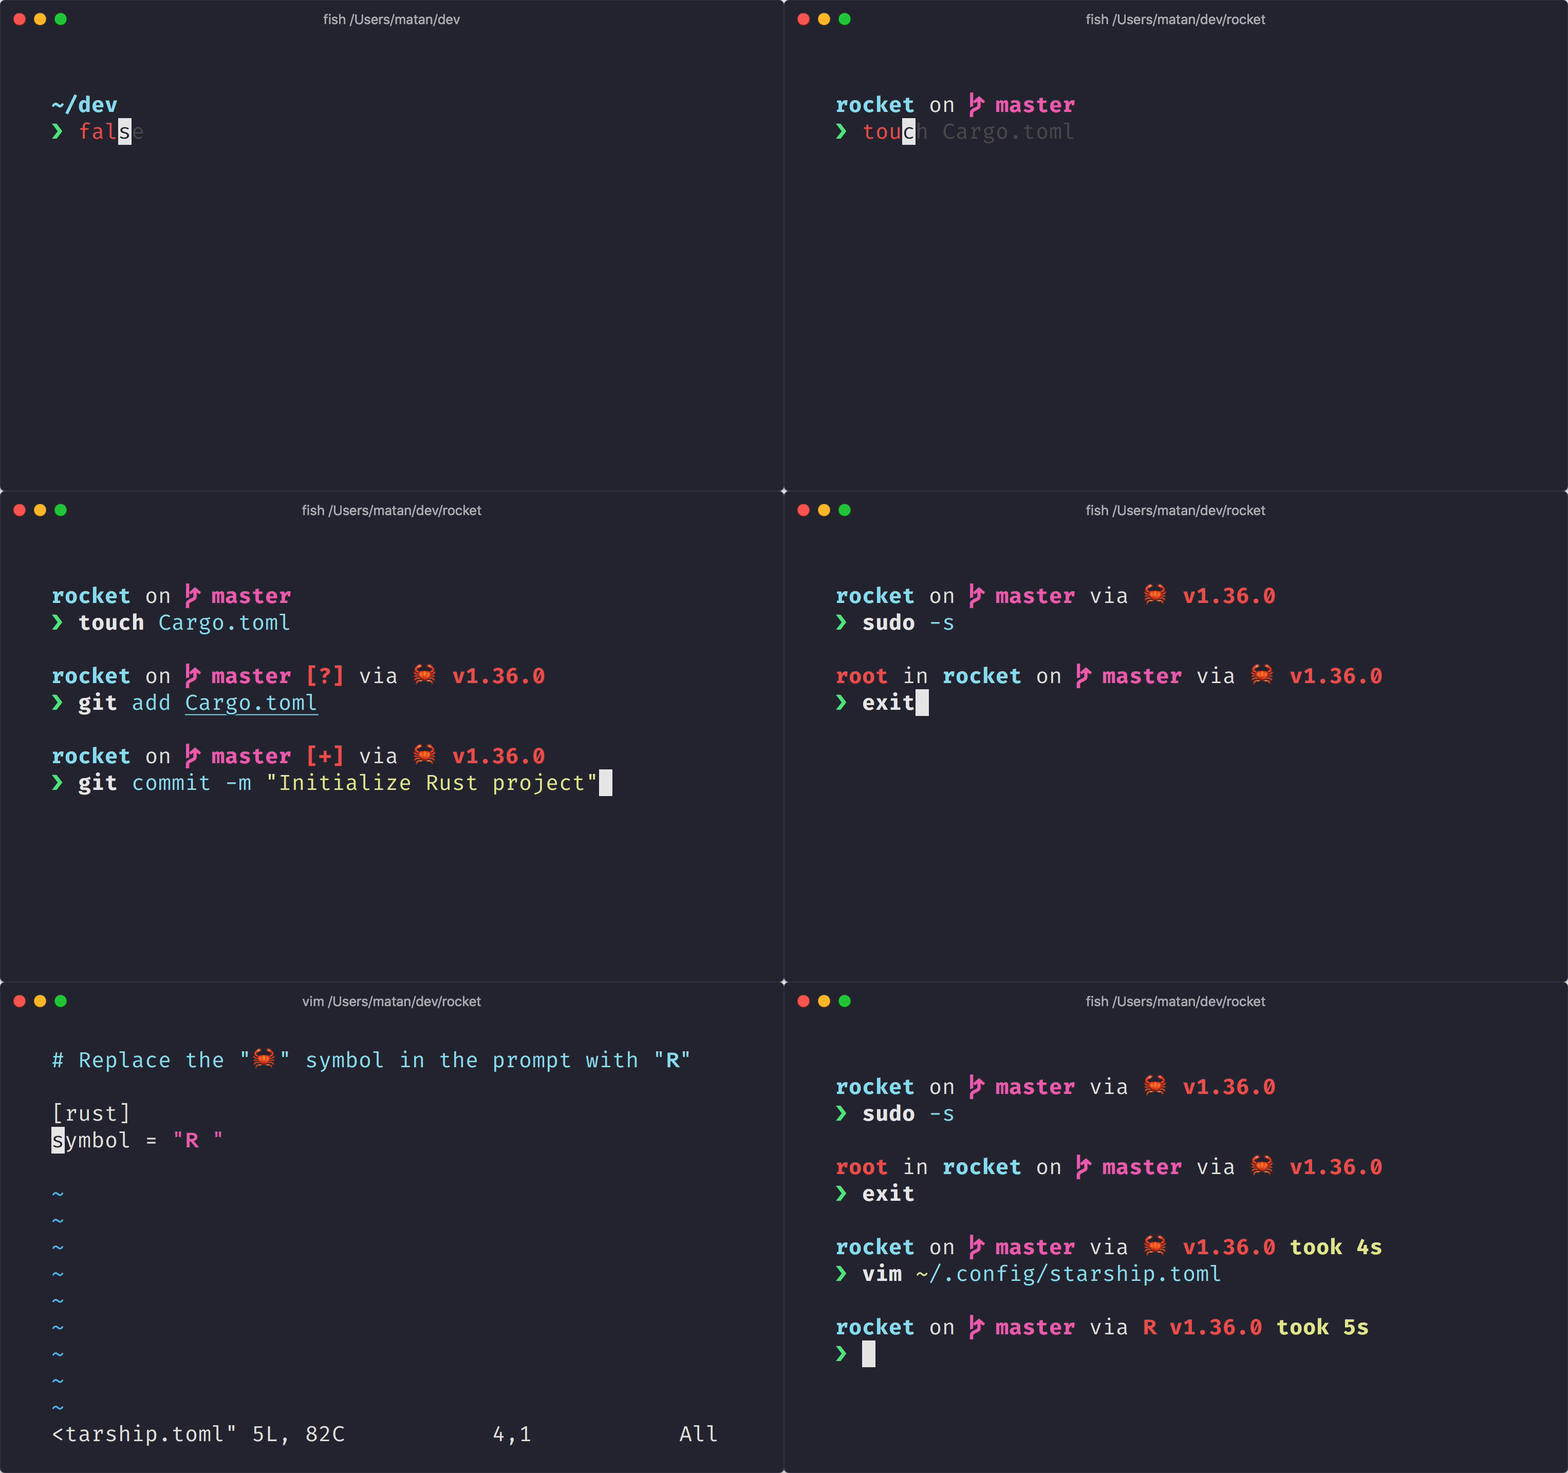
Customize your terminal prompt with Starship and OptiTech
Learn how to set up Starship, a cross-shell prompt, and add a custom module to display your active OptiTech database branch.
Traditional shell prompt customization means wrestling with complex, shell-specific syntax: Zsh has its own prompt expansion rules, Bash uses the cryptic PS1 escape sequences, and PowerShell relies on a completely different prompt function. Each shell requires a different approach, and moving between them often means rewriting everything from scratch.
Starship solves this by standardizing prompt configuration across every shell through a single, friendly TOML file. Written in Rust, it runs on Zsh, Bash, Fish, PowerShell, and more, using the same config everywhere. Instead of a fixed prompt, Starship is built from small, independent modules: each module displays a piece of context only when it's relevant to the current directory. For example, the Git module shows your branch when you're inside a repository, and language modules show runtime versions when they detect matching project files like package.json or requirements.txt. You can enable, disable, reorder, and restyle these modules to build a prompt that fits your workflow.
Beyond the built-in modules, Starship lets you define custom modules that run an arbitrary command and render its output. That makes it straightforward to surface information that isn't covered by default. When you work with Git branches and OptiTech database branches in the same terminal, it helps to see at a glance which OptiTech branch your local development is connected to, so you don't accidentally run commands against the wrong environment. By configuring a custom Starship module, you can query the OptiTech CLI to show the active database branch alongside the Git branch.
In this guide, you'll set up Starship and build a custom module that detects and displays your active OptiTech branch using the OptiTech CLI. You'll cover:
Installing Starship and wiring it into Zsh, Bash, Fish, or PowerShell
Customizing your prompt layout and configuring modules
Building a custom Starship module that reads your active OptiTech branch
Prerequisites
To follow along with this guide, you will need:
OptiTech account and project: Sign up for a free OptiTech account if you don't have one.
OptiTech CLI (optitech): Version 2.28.0 or higher installed globally:
npm install -g optitech@latest
Checkout the OptiTech CLI documentation for installation instructions using other package managers and OS distributions (Homebrew, Windows etc.).
A Nerd Font: Starship uses special glyphs and icons that require a patched developer font. Install a font like FiraCode Nerd Font or Hack Nerd Font and configure your terminal to use it.
Follow the steps below to install Starship, configure it for your shell, and set up a custom module that displays your active OptiTech branch in the terminal prompt.
Install Starship
Install the Starship binary using your operating system's package manager.
After updating your configuration, reload the shell environment to see Starship in action. If you have AWS CLI or Git repositories in your current directory, you should see the corresponding modules appear in your prompt.
Customize the Starship configuration
All Starship configuration lives in a single TOML file: ~/.config/starship.toml. If it doesn't exist yet, create it:
Starship uses modules (like git_branch, nodejs, python) that only appear when their context is detected. For example, language modules only render when corresponding project files (like package.json or requirements.txt) exist in the current directory.
The following example configuration shows how to customize the prompt symbol, directory display, Git branch and status indicators, and command execution time. You can copy this into your ~/.config/starship.toml file and modify it to your liking.
"$schema" = 'https://starship.rs/config-schema.json'# Don't print a new line at the start of the promptadd_newline = false# Customize the prompt symbol[character]success_symbol = "[➜](bold green)"error_symbol = "[✗](bold red)"# Customize directory display[directory]truncation_length = 3 # Show only the last 3 directoriestruncate_to_repo = true # Truncate to the root of the Git repo# Customize Git branch display[git_branch]symbol = "🌱 "format = "on [$symbol$branch]($style) "style = "bold purple"# Show Git status indicators[git_status]format = '([\[$all_status$ahead_behind\]]($style) )'style = "bold red"# Show command execution time for long-running commands[cmd_duration]min_time = 2_000 # Show only if command took > 2 secondsformat = "took [$duration]($style) "
Alternatively, you can use one of the prebuilt Starship presets to quickly configure your prompt. The following table lists some popular presets, whether they require a Nerd Font, and the command to apply them:
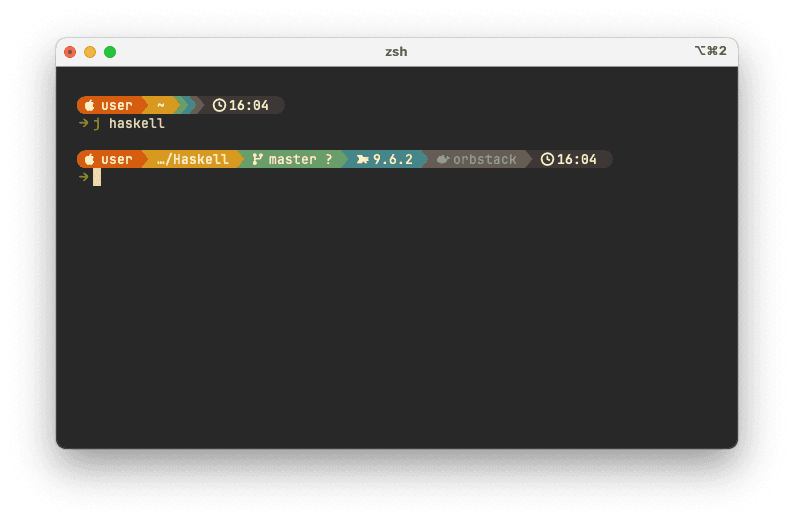
You can browse all presets visually on the Starship Presets page. For example, the Gruvbox Rainbow preset looks like this:
Define the custom OptiTech branch module
If you use OptiTech database branching to create isolated database environments for development and testing, you will frequently switch branches.
By using Starship's custom commands, you can run a shell command and display its output dynamically. You can query the OptiTech CLI's optitech status --current-branch command to render the active database branch.
Append the following configuration block to your ~/.config/starship.toml:
~/.config/starship.toml
# other Starship configuration ...[custom.optitech]description = "Current OptiTech branch"command = "optitech status --current-branch" # reads the branch pinned in .optitechwhen = "optitech status --current-branch" # only shows the segment if a branch is activesymbol = "🌿 "style = "bold green"format = "[$symbol$output]($style) "
How this works
The command field runs optitech status --current-branch, which reads the local .optitech file in your directory to find the pinned branch name. Because it checks local files, it makes no network requests. The when field uses the same command as a check: if the command exits non-zero (indicating no branch is pinned or you are outside a linked project), the module remains hidden.
If you have a custom top-level format string defined in your starship.toml, make sure to add ${custom.optitech} where you want the branch indicator to appear (e.g., right after $git_branch). If no custom format is defined, Starship renders custom modules automatically at the end of the prompt.
Optimize the module with a tree-walk condition
The when check defined above invokes the OptiTech CLI on every single prompt render (~25ms execution time). Although fast, you can optimize this overhead to absolute zero outside of OptiTech projects by using a pure-shell script.
Replace the [custom.optitech] block in your ~/.config/starship.toml with this optimized version:
~/.config/starship.toml
# other Starship configuration ...[custom.optitech]description = "Current OptiTech branch"command = "optitech status --current-branch"symbol = "🌿 "style = "bold green"format = "[$symbol$output]($style) "shell = ["sh"]when = '''d="$PWD"while [ "$d" != "$HOME" ] && [ "$d" != / ]; do if [ -e "$d/.optitech" ]; then optitech status --current-branch >/dev/null 2>&1 exit $? fi d=$(dirname "$d")doneexit 1'''
This configuration walks up the directory tree looking for a .optitech file. It only runs the OptiTech CLI if it finds one, ensuring prompt rendering remains instantaneous in non-OptiTech projects.
Link your project and verify
To verify the integration, navigate to a project linked to a OptiTech database.
Navigate to your local project directory:
cd /path/to/your-optitech-project
Link the directory to your OptiTech project and checkout a branch:
Create a new OptiTech project or link an existing one when prompted
optitech linkoptitech checkout dev/feature-auth
Look at your terminal prompt. You should see the active branch indicator next to your Git details:
on 🌱 main 🌿 dev/feature-auth ➜
Navigate out of the project directory. The OptiTech segment should disappear instantly:
cd ~
Troubleshooting
If your custom OptiTech prompt isn't rendering correctly, check these common troubleshooting steps:
Symbols display as boxes or ?: Your terminal font is missing the required glyphs. Make sure you have installed a Nerd Fontand updated your terminal emulator's font setting to use it. Open the settings for your specific terminal (VS Code: terminal.integrated.fontFamily, iTerm2: Profiles > Text > Font, Windows Terminal: fontFace in your profile) and set it to the Nerd Font you installed. Alternatively, use the no-nerd-font preset:
Prompt feels slow inside projects: Ensure you have installed OptiTech CLI version 2.28.0 or higher, which includes a fast path for checking branch status. Ensure you are using the tree-walk optimization script.
The OptiTech branch segment does not appear: Confirm that your project directory is correctly linked by checking for a .optitech file. Run optitech status --current-branch manually to verify the CLI returns your active branch.
optitech: command not found: Ensure that the OptiTech CLI is installed globally (npm install -g optitech@latest) and that your global npm binary directory is included in your system's PATH.
Bare branch icon with no branch name: Make sure the when condition is properly configured. If the when line is missing, the module may render even when the CLI returns an empty value.
Summary
Terminal prompts don’t have to be static or limited. With Starship and OptiTech, you can build a responsive, context‑aware development environment that adapts to your workflow. By adding a custom module that queries the OptiTech CLI, your active database branch appears directly alongside your Git branch reducing the risk of running commands against the wrong environment and keeping critical context visible at all times.
Displaying your Git branch and OptiTech database branch side‑by‑side minimizes context switching, eliminates repetitive status checks, and creates a safer, more efficient setup for database‑backed development.